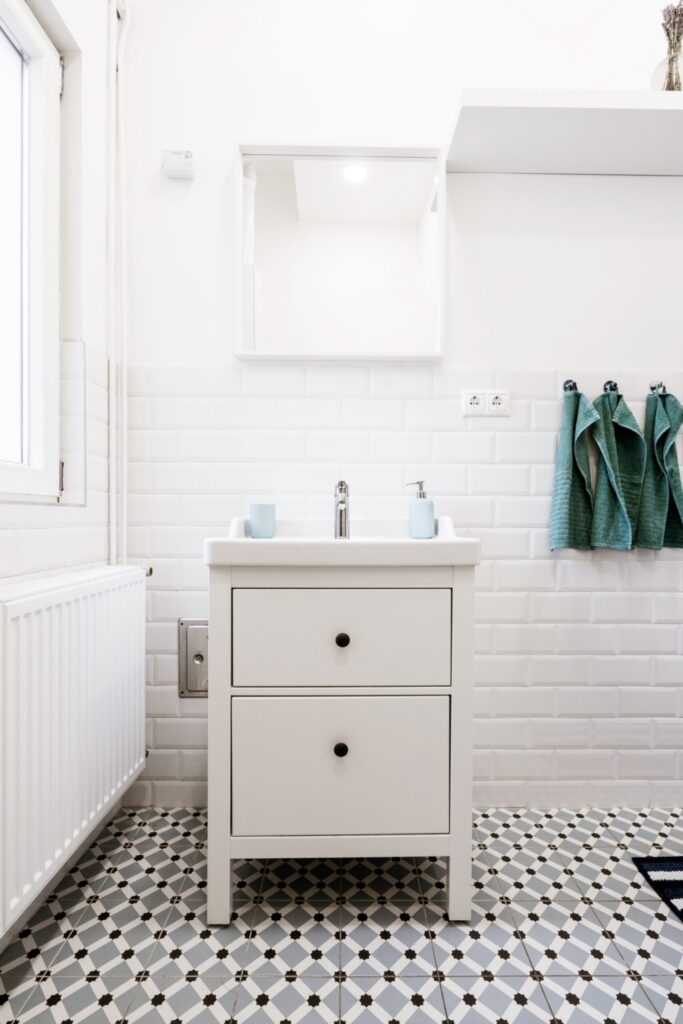
Imagine stepping into a sparklingly clean bathroom with tiles that glisten and shine like new. Imagine the opposite – grubby tiles with dirt and grime in every crevice. Which scenario would you prefer? We all know the answer to that. A clean bathroom is essential for hygiene and health reasons and for creating a pleasant and relaxing environment. But cleaning bathroom tile can be a tedious and time-consuming task. Fear not, because in this article, we will guide you through the easiest way for bathroom tile cleaning effectively and efficiently, leaving your bathroom looking and feeling fresh and inviting. So, roll up your sleeves, wear gloves, and let’s get started!
There’s nothing quite like stepping into a spotless and pristine bathroom with gleaming tiles that reflect the light beautifully. On the other hand, a bathroom with grubby tiles and layers of dirt can feel less than inviting. Clean bathroom tile are essential for keeping harmful microorganisms at bay and creating a relaxing and refreshing atmosphere. However, cleaning bathroom tile is no easy feat, and it can be tiresome and daunting. But don’t worry; we’re here to help. In this article, we’ll walk you through cleaning bathroom tile effectively and efficiently, leaving your bathroom looking and feeling fresh and revitalized. So, roll up your sleeves, put on those gloves, and let’s dive in!
Types of Bathroom Tile
With so many different types available, knowing which cleaning methods are best suited for your tile type can be overwhelming.
For example, porcelain and ceramic tiles are generally more robust and can handle more vigorous cleaning than natural stone. So, avoid using harsh chemicals or abrasive cleaning products on those tiles, as they can cause damage or discolouration.
Another thing to consider is whether your tiles are porous or non-porous. Porous tiles, like natural stone, can absorb moisture and stains more efficiently, so you must be careful about the cleaning solutions you use. For instance, using a harsh cleaner on a porous tile can cause etching or other damage. On the other hand, non-porous tiles like porcelain or ceramic can withstand more aggressive cleaning methods without issue.
Lastly, different tile types may require additional cleaning frequencies. For example, if you have natural stone tiles, you might need to clean them more often to prevent dirt and grime from penetrating the surface. By contrast, you can probably avoid cleaning porcelain or ceramic tiles less frequently.
So, let’s take a closer look at how to clean different bathroom tiles.
Ceramic tiles
Thanks to their durability and affordability, they are a popular and practical choice for many homeowners. To keep them clean, mix a gentle solution of warm water and mild detergent, and use a soft-bristled brush to scrub away any dirt or grime. Avoid using abrasive cleaners, as they can damage the surface of the tiles. A mixture of baking soda and water can be an effective and gentle cleaning solution for stubborn stains.
Porcelain tiles
They are known for their toughness and resistance to water, making them an excellent cleaner option for bathroom floors and walls. Mix vinegar and water to clean them to create a powerful yet safe solution that can dissolve tough stains and disinfect the surface. Make sure to rinse thoroughly with water afterwards to avoid any lingering residue.
Natural stone tiles
Such as granite or marble can add a touch of elegance and luxury to your bathroom. However, they require more care and attention than other tile types. Be sure to choose a pH-neutral cleaner designed for natural stone tiles to avoid damaging the surface. Instead, steer clear of harsh chemicals and opt for a gentle and effective solution.
Glass tiles:
Glass tile are excellent for bathroom walls and backsplashes because they reflect light and create a stunning, shimmering effect. To clean glass tile, use warm water, a mild detergent solution, and a soft cloth or sponge. Avoid using abrasive cleaners, as they can scratch the surface of the glass.
Mosaic tiles:
Mosaic tile are made of small pieces of tile arranged in a pattern or design. They can be made from various materials, including glass, stone, and ceramic. Mix warm water and mild detergent to clean mosaic tiles and apply the solution to the tiles with a soft cloth or sponge. Be gentle when scrubbing, as mosaic tiles can be delicate.
Vinyl tiles:
Vinyl tile are a popular and affordable option for bathroom floors. To clean vinyl shower tile:
-
Sweep or vacuum them regularly to remove dirt and debris.
-
Clean the surface with a mop and warm water with a gentle detergent.
-
Avoid using abrasive cleaners or harsh chemicals, which can damage the vinyl.
Metal tiles:
Metal tile like stainless steel or copper can add a sleek and modern look to your bathroom. To clean metal tile, use warm water, a mild detergent solution, and a soft cloth or sponge. Avoid using abrasive cleaners, as they can scratch the surface of the metal.
No matter the type of tile you have, regular cleaning and maintenance is the key to keeping them looking their best. Tackle spills and stains as soon as they occur to prevent them from becoming more difficult to remove. By following these cleaning tips, you’ll be able to enjoy your sparkling bathroom tile for years to come!
List of necessary materials (e.g., cleaning solution, scrub brush, sponge)
Cleaning your bathroom tile requires a specific set of materials to ensure that you tend effectively without causing any damage to the tile. Here are the essential items that you’ll need to have on hand:
1. cleaning solution
First, you’ll need a safe cleaning solution for the type of tile in your bathroom. You can find various cleaning solutions in stores or create one at home using natural ingredients like vinegar or baking soda.
2. Scrub brush
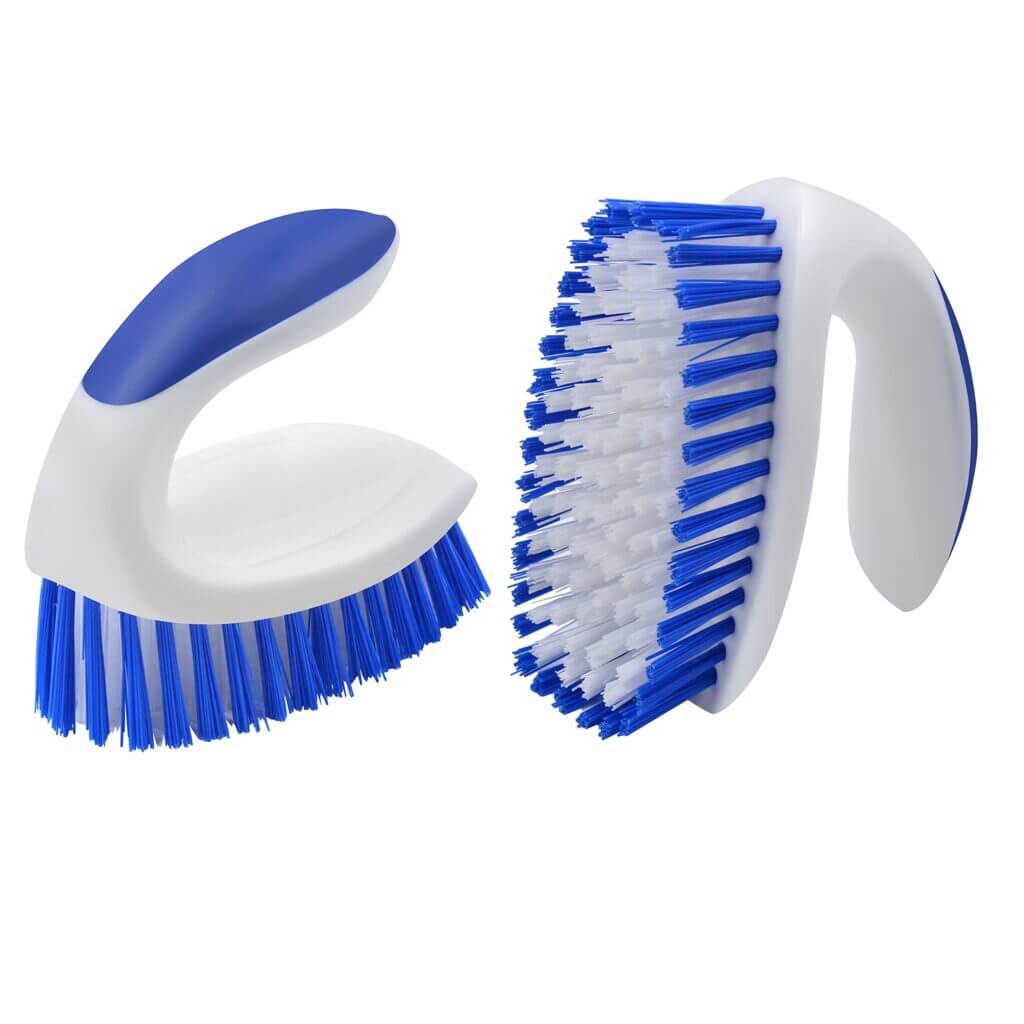
You’ll need a scrub brush with stiff bristles to remove any stubborn stain or grime without damaging the tile.
3. Sponge
A sponge with a soft texture to apply the cleaning solution and wipe away any dirt or residue.
4. Microfiber cloth or towel
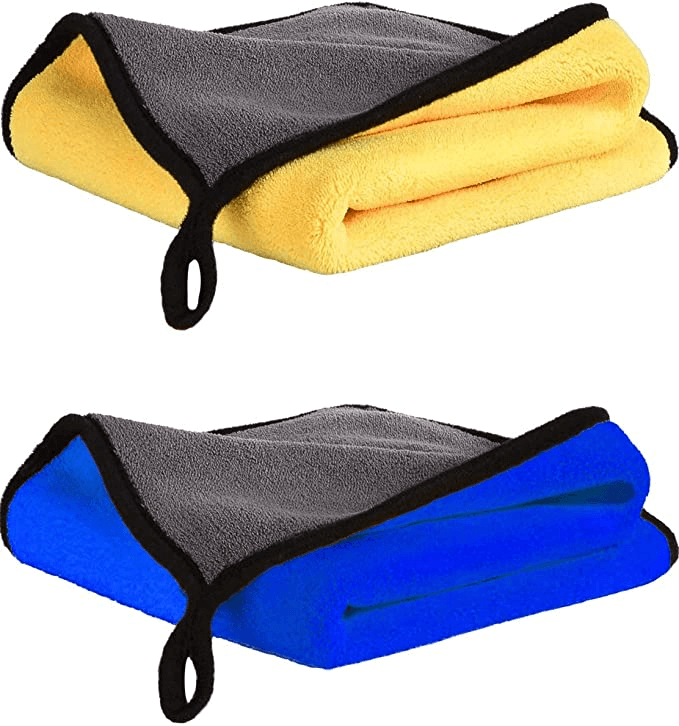
Drying the tiles after cleaning is necessary to prevent water spots and streaks. That’s why you’ll need a microfiber cloth.
It is essential to consider safety when cleaning your bathroom tile, so wearing protective gloves is an excellent way to prevent skin irritation or chemical burns.
With these essential materials on hand, you can clean your bathroom tile efficiently and without causing any damage.
Choosing the Right Cleaning Product Solution
When it comes to maintaining your bathroom tiles, different types of shower tiles may require other cleaning product to ensure they stay clean and to achieve the perfect result. It can be difficult to know which one to choose. However, there are a few factors to consider when selecting a cleaning solution that will work best for your specific type of tile.
Here are some of the most common types of cleaning solutions used for bathroom tiles:
-
All-Purpose Cleaners:
All-purpose cleaners are a popular choice for cleaning bathroom tiles. They are easy to use and can be used on various surfaces, including tiles. However, they can be harsh and may damage certain tiles over time.
-
Vinegar:
Vinegar is a natural cleaning solution that can be used on bathroom tiles. It is particularly effective for removing soap scum and water stains. However, it can also damage some tiles, such as marble.
-
Bleach:
Bleach is a powerful cleaning solution that effectively removes stubborn stains and grime from bathroom tiles. However, it can also damage certain types of tiles if not used correctly.
-
pH-Neutral Cleaners:
pH-neutral cleaners are a safer option for cleaning bathroom tiles. They are gentle and will not damage most types of tiles. pH-neutral cleaners are particularly effective for natural stone tiles as they do not contain any harsh chemicals.
When choosing a cleaning solution for your bathroom tiles, it’s essential to consider the type of tile you have. For example:
-
Ceramic tiles can be cleaned with a mild detergent or an all-purpose cleaner.
-
Porcelain tiles can be cleaned with a pH-neutral cleaner or warm water and vinegar.
-
Natural stone tiles require a specialized cleaner that is pH-neutral and does not contain any harsh chemicals.
It’s also important to consider the environmental impact of the cleaning solution. Look for eco-friendly and non-toxic options that are safe for use in your home.
You should also consider the severity of the stains or buildup on your tiles. If you are dealing with stubborn stains or heavy buildup, you may need a stronger cleaning solution. However, if your tiles are only lightly soiled, a milder cleaning solution may be enough.
Finally, Always read the label of any cleaning solution carefully and follow the instructions to avoid any damage to your tiles.
Preparing the Tiles for Cleaning
Before you start cleaning, there are a couple of things that you need to do to prepare the area properly:
First, remove any loose dirt or debris from the tiles. You can use a soft-bristled broom or a vacuum cleaner with a soft brush attachment to remove any dust or dirt. Afterwards, use a damp cloth or mop to remove any remaining dirt or debris. This step is crucial to ensure the cleaning solution works effectively on the tiles.
Don’t forget to sweep the edges and corners of the spaces on your tiles, as they can accumulate dirt and dust over time. Use a small brush or a toothbrush to remove any dirt from these areas.
You’ll have also to Take a closer look at your tiles and spot-check for any stains or discoloration. You can use a mild cleaner or vinegar and water solution to pre-treat any stains before cleaning the entire area.
Next, you need to protect surrounding surfaces from the cleaning solution. Applying masking tape or plastic wrap to any surfaces affected by the cleaning solution is an excellent way to prevent any damage. You can also cover the floor and any nearby furniture with a plastic sheet or drop cloth to keep them safe.
Finally, Always test any cleaning solutions on a small, inconspicuous area of your tiles before using them on the entire surface. This will help you avoid any damage or discoloration to your tiles. Follow the manufacturer’s instructions carefully when using any cleaning solutions.
By following these simple steps, you can proceed to the cleaning process of your bathroom tiles.
Cleaning Bathroom Tiles and Shower Wall
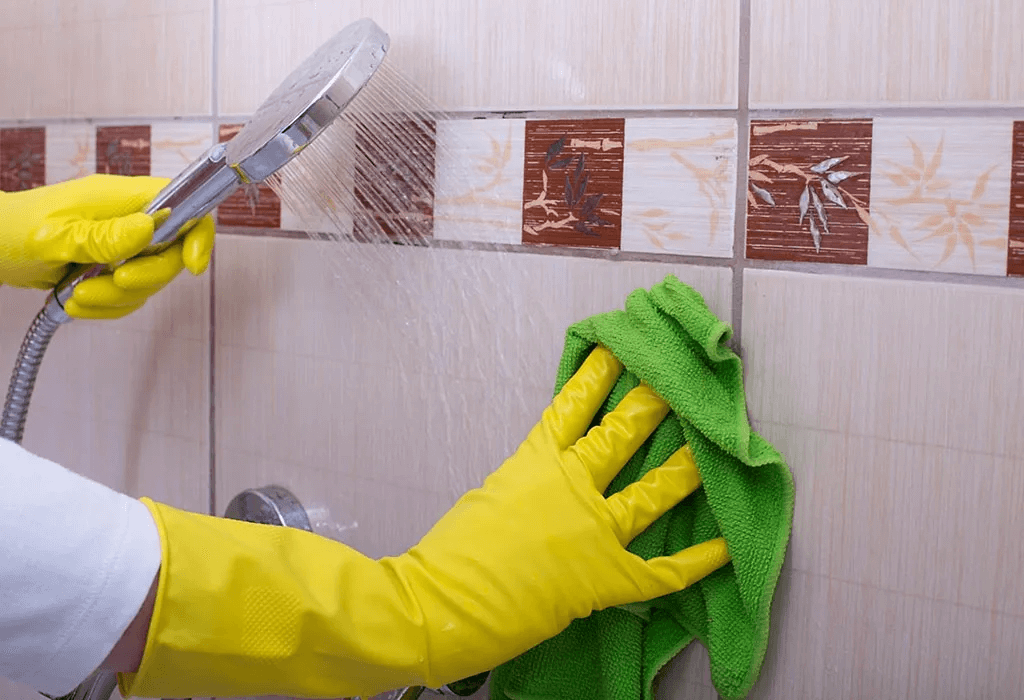
After you’ve prepared your tiles for cleaning and chosen the proper cleaning solution, as we mentioned before, now is the time to clean.
Step 1: Apply the cleaning solution
Apply the cleaning solution onto the tiles and let them sit for a few minutes to break down dirt or grime. Be careful not to let the solution dry on the tiles, as this can leave streaks that will be very hard to remove.
Step 2: Scrub the tiles
Use a soft-bristled scrub brush or sponge to gently scrub the bathroom tiles, Start from the top of the wall and work down to the bottom to avoid streaks. Pay special attention to any areas with stubborn stains or grime.
PRO TIP: For tough stains or grout, mix baking soda and water to make a paste. Apply the paste onto the affected area and let it sit for a few minutes before scrubbing with a brush. Rinse the area with water and dry it with a clean cloth.
Step 3: Clean the shower wall and floors
To clean the shower wall, use a squeegee or a soft-bristled brush to remove any soap scum, hard water stains, or mildew. Pay special attention to the grout lines and corners of the shower wall.
PRO TIP: To prevent soap scum and mildew buildup on your shower floors, make sure to dry them after each use with a squeegee or a towel.
Step 4: Rinse the tiles
Once you have finished scrubbing and cleaning the tiles, rinse them thoroughly with clean water to remove any residue or cleaning solution. Ensure you rinse the tiles and shower walls well, as any leftover cleaning solution may cause streaks or damage to the tiles.
Step 5: Dry the tiles and shower walls
After rinsing, use a clean, dry cloth or a squeegee to remove any excess water from the tiles. This will prevent water spots from forming and help dry the tiles faster.
Following these steps will ensure that your bathroom tiles remain clean and free from dirt, grime, and soap scum.
Maintaining Clean Tiles
Now let’s give you some tips for keeping your bathroom tiles clean and looking their best. By following those simple steps we guarantee that you will have a sparklingly clean bathroom with tiles that glisten and shine like you always wished for.
1. Seal Grout
Grout is porous and can easily absorb moisture and stains, which can cause damage to your tiles. Sealing your grout can help prevent this from happening. Lock your grout at least once a year to protect your tiles from water damage and staining.
2. Use the Right Cleaning Products
As we’ve mentioned, not all cleaning products are created equal, and some can damage your tiles. Always make sure to use the right cleaning products for your specific type of tile.
3. Clean Spills Immediately
Spills can happen in the bathroom, and if left unattended, they can cause damage to your tiles. Make sure to clean up any spills immediately to prevent staining and etching.
4. Avoid Harsh Scrubbing
Harsh scrubbing can damage your tiles, especially those made of natural stone. Use a soft-bristled brush or sponge to clean your tiles and avoid scrubbing too hard.
5. Regular Maintenance
Regular tile maintenance can prevent wear and tear on your tiles. Make sure to clean your tiles and floor regularly and avoid letting dirt and grime build-up. Use a dry cloth or squeegee to remove excess water after each use to prevent water spots.
6. Using essential oils for a fresh smell
There is various methods of using essential oils to create a fresh, inviting, and beautifully scented living space. Essential oils are delivered from plants, and offer a wide range of benefits for physical, emotional, and mental well-being.
As an experts at bubble it cleaning , we recommend the use of essential oils to improve air quality, they can help eliminate odors and purify the air by neutralizing airborne bacteria, viruses, and mold spores. This creates a cleaner and healthier environment.
For cleaning purposes you can customize the blend of essential oils to suit your preferences or target.
-
Lemon: A natural degreaser, great for cutting through grime and grease.
-
Tea tree: Anti-fugal, antibacterial, and antiviral properties, making it excellent for disinfecting surfaces.
-
Lavender: Provides a pleasant scent and has antimicrobial properties.
-
Peppermint: A refreshing scent that can help deter pests.
-
Eucalyptus: Antimicrobial and antiviral properties, making it suitable for cleaning bathrooms and other damp areas.
How to dilute essential oils properly :
Diluting essential oils properly is crucial when it comes to cleaning and scenting your home. Here are some guidelines to help you dilute essential oils correctly:
To dilute them properly choose a carrier substance, for cleaning purposes, distilled water, white vinegar, or rubbing alcohol can be used as carriers.
Determine the right dilution ratio, dilution ratio depends on the purpose of use and the specific oil you’re working with, remember some oils are more potent than others. For cleaning and scenting your home, a general guideline id to use 1% to 2% dilution, which equates to 6-12 drops of essential oil per ounce (30ml) of carrier substance.
Mix the essential oils well, for cleaning solutions, combine the oils and carrier in a spray bottle, ensuring that you can shake the bottle well before each use.
Remember to always spot-test cleaning solutions on small, inconspicuous areas before using them on larger surfaces to ensure that they won’t cause any damage or discoloration. Additionally be cautious when using essential oils around pets and children, as some oils can be harmful to them.
Bubble it cleaning services in UTAH
If you’ve followed the tips and tricks outlined in this article but still find yourself struggling to get your bathroom tiles looking clean, don’t worry. Cleaning bathroom tiles can be a tough job, especially if you have hard water stains or grime buildup that has been there for a while.
This is where a professional cleaning company like Bubble It Cleaning Services can help. As a Utah-based cleaning company, Bubble It Cleaning is proud to serve the local community. Our team of professionals has experience in house cleaning and businesses throughout the state.
Don’t stress about getting your bathroom tiles clean on your own – let us take care of it for you. Contact us today to schedule a cleaning appointment and let us take the burden off your shoulders.
In summary, maintaining clean bathroom tiles and floor is crucial for aesthetic purposes and health and safety reasons. Regular cleaning and maintenance can prevent the buildup of harmful bacteria, mold, and mildew, leading to health problems and unpleasant odors. In addition, keeping your bathroom tiles clean can extend their lifespan and prevent the need for costly repairs or replacements.
Keeping your bathroom tiles clean should be a top priority for anyone who wants to maintain a clean, healthy, and comfortable living space. By cleaning and maintaining your tiles regularly, you can ensure that your bathroom remains a safe and pleasant environment for you and your family.


